Instructions
-
Preheat and Melt Butter: Preheat your oven to 350°F (175°C). Place the stick of butter in a 9×13-inch baking dish and put it in the oven as it preheats to melt the butter. Keep a close eye on it to prevent browning.
-
Build the Layers: Once the butter has melted, carefully remove the hot dish from the oven.
-
Layer 1: Evenly distribute the shredded chicken over the melted butter.
-
Layer 2: Scatter the frozen peas and carrots over the chicken.
-
Seasoning: Sprinkle the garlic powder, salt, and pepper over the vegetable layer.
-
-
Prepare the Biscuit Layer: In a medium bowl, whisk together the Cheddar Bay biscuit mix and milk until just combined. It will be a thick batter. Gently pour this mixture over the chicken and vegetables, spreading it as evenly as possible. Do not stir.
-
Add the Broth Layer: In the same bowl (no need to wash it), whisk together the cream of chicken soup and chicken stock until smooth. Slowly and carefully pour this liquid over the back of a spoon to distribute it evenly across the biscuit layer. Do not stir; the layers are essential.
-
Bake: Bake uncovered for 45-50 minutes, or until the top is golden brown and the edges are bubbly.
-
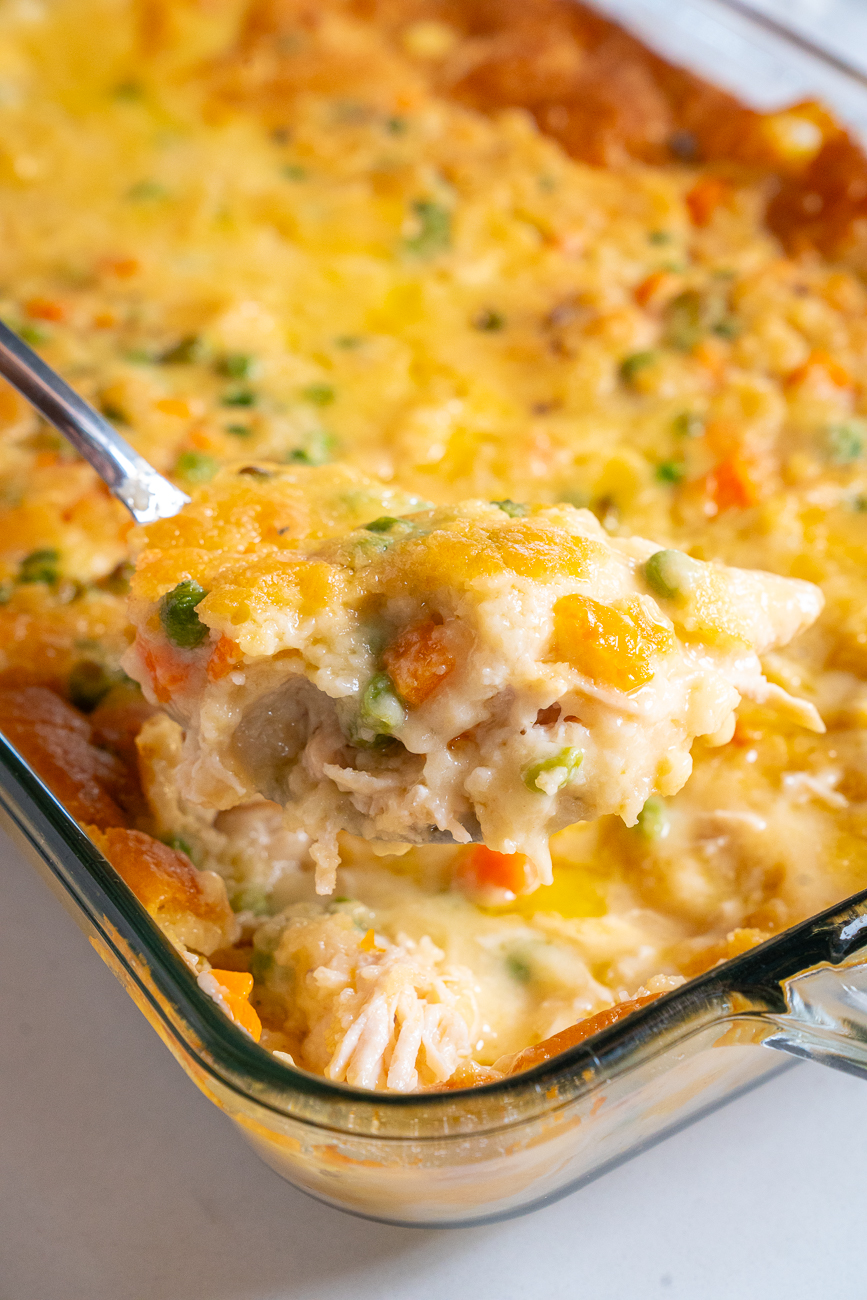
Rest and Serve: Remove the cobbler from the oven. It will still look liquidy underneath the topping. Let it stand for 15 minutes before serving. This rest time is crucial for the gravy to thicken to the perfect consistency.
Chef’s Notes
-
Mixing Note: Resist the urge to stir the layers! The magic of this recipe is how the biscuit batter rises to the top to bake while the soup and stock mixture sinks down to form a savory gravy.
-
Butter Shortcut: For even easier cleanup, you can melt the butter in the microwave and then pour it into the baking dish instead of melting it in the oven.
-
Customization: Feel free to use other frozen vegetable blends like a classic mixed vegetable (peas, carrots, corn, green beans). You can also add a sprinkle of paprika or dried parsley for extra color before baking.
