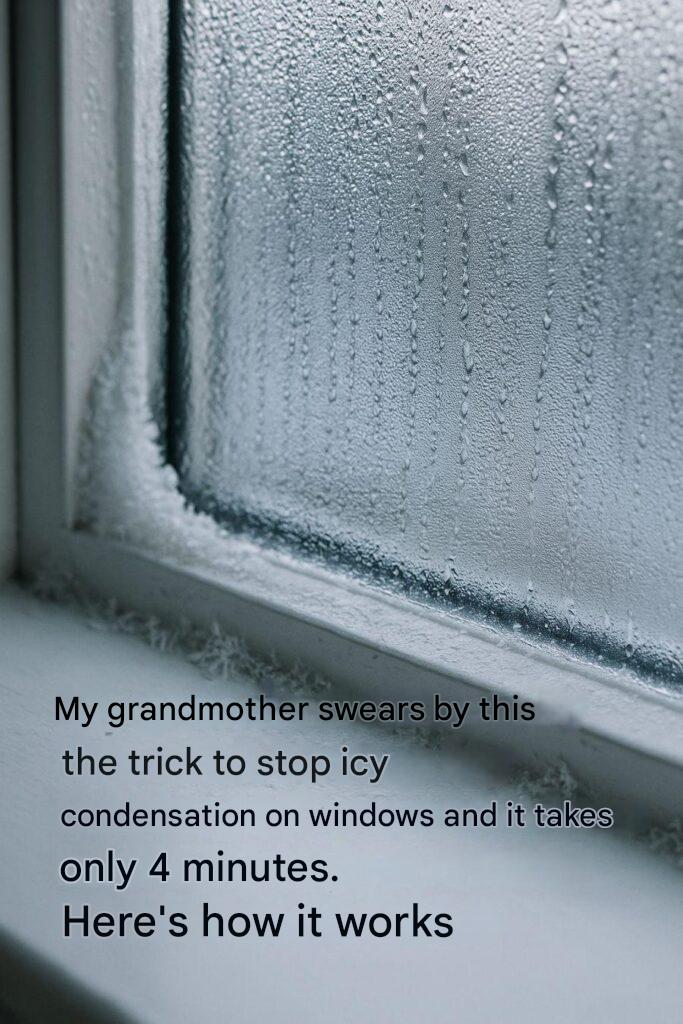
While it works in most climates, the trick is especially useful in colder regions where temperatures often drop below freezing, making ice buildup on windows a common problem. However, it is important to note that in extremely humid conditions, additional dehumidification measures may be necessary to maximize efficiency.
8. Safety checks and common mistakes to avoid
While the shaving cream method is generally safe, there are a few precautions to keep in mind. First, make sure that the shaving cream is applied evenly to avoid streaks or residue that could obscure the view.
Additionally, be careful using this trick on stained or tinted windows, as the ingredients in shaving cream can potentially cause discoloration. It’s always a good idea to test a small, secluded area first to ensure compatibility.
9. How long the result lasts and when to reapply
The protective layer created by the shaving cream usually lasts for several weeks, depending on the humidity and temperature fluctuations in your home. In most cases, you can expect to see clear windows for about two to four weeks before reapplying.
It’s a good idea to reapply the shaving cream when you notice the first signs of condensation returning. Regular maintenance ensures that your windows remain clean throughout the winter season.
10. Extra Adjustments to Increase the Trick’s Effectiveness
For those who live in particularly humid environments, combining this trick with other moisture-reducing strategies can improve its effectiveness. Consider using a dehumidifier to lower the overall humidity in your home, or place moisture-absorbing products like silica gel bags near windows.
Improving ventilation by opening windows regularly or using fans in kitchens and bathrooms can also help reduce indoor humidity, making the shaving cream method even more effective.
Continue reading…
