Step-by-Step Instructions
1. Prepare and Sterilize the Jars
2. Cook the Meat and Vegetable Base
Heat the oil in your large pot over medium heat. Add the chopped onion and sauté until translucent, then add the garlic and cook for another minute until fragrant. Add the cubed meat and brown on all sides. Season with salt, pepper, and paprika. Stir in the diced carrots and tomato paste (if using). Pour in the hot broth, bring to a boil, then reduce the heat and let it simmer for 20 minutes. Remove from heat.
3. Parboil the Rice
While the meat is simmering, rinse the rice in a fine-mesh strainer until the water runs clear. In a separate pot, parboil the rice in plenty of water for 5-7 minutes—it should be only half-cooked. Drain immediately.
4. Combine the Mixture
Add the drained, parboiled rice to the pot with the meat and broth. Stir well to combine. The mixture will be very liquidy; this is crucial as the rice will absorb the remaining liquid during the pressure canning process.
5. Fill the Jars
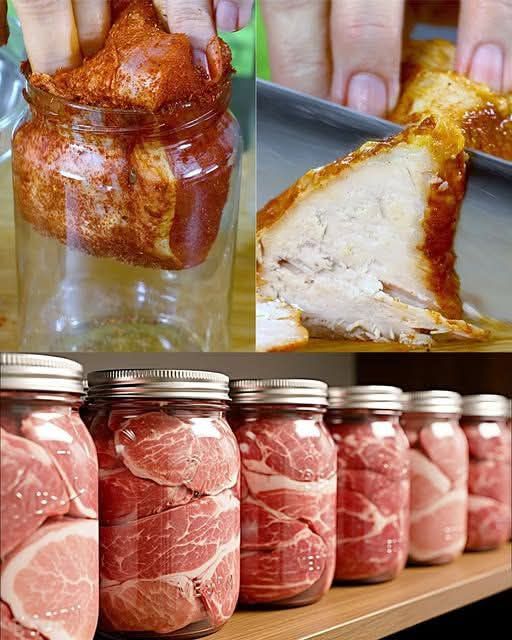
Using a ladle and canning funnel, carefully fill the hot, sterilized jars with the meat and rice mixture. Leave a 1-inch (2.5 cm) headspace at the top. Run your bubble remover tool around the inside of the jar to release any trapped air. Wipe the jar rims meticulously with a clean, damp towel to ensure a perfect seal. Place a hot lid on each jar and screw on the band until it is fingertip-tight (snug but not forced).
6. Process in a Pressure Canner
Place the filled jars on the rack in your pressure canner. Follow your canner manufacturer’s instructions for venting and pressurizing.
-
Process Pint (500 ml) jars at 10-12 PSI (adjust for your altitude*):
-
75 minutes for pints.
-
-
-
90 minutes for quarts.
Once processing is complete, turn off the heat and let the canner depressurize naturally. Do not force-cool it. This can take 30-60 minutes.
-
7. Cool, Check, and Store
After depressurizing, carefully remove the jars with a jar lifter and place them on a towel-lined surface, spaced apart. Do not tighten the bands. Let them cool undisturbed for 12-24 hours.
After cooling, check each seal by pressing down on the center of the lid. It should not flex or pop. Any unsealed jars must be refrigerated and consumed within a few days.
Remove the bands, wipe the jars, label with the contents and date, and store in a cool, dark, dry place.
Important Safety Notes
-
Pressure Canning is REQUIRED: A water bath canner cannot reach the high temperatures needed to destroy botulism spores in low-acid foods like meat and rice.
-
Altitude Adjustments: The provided PSI is for altitudes under 1,000 ft. You MUST adjust the PSI upward according to your altitude and your pressure canner’s guidelines.
-
Headspace is Critical: Leaving 1 inch of headspace allows the food to expand and form a proper vacuum seal.
Serving Suggestions
To serve, simply open a jar, empty the contents into a saucepan, add a splash of water or broth, and heat thoroughly until simmering. Great on its own or served with a side of fresh vegetables or crusty bread.
